
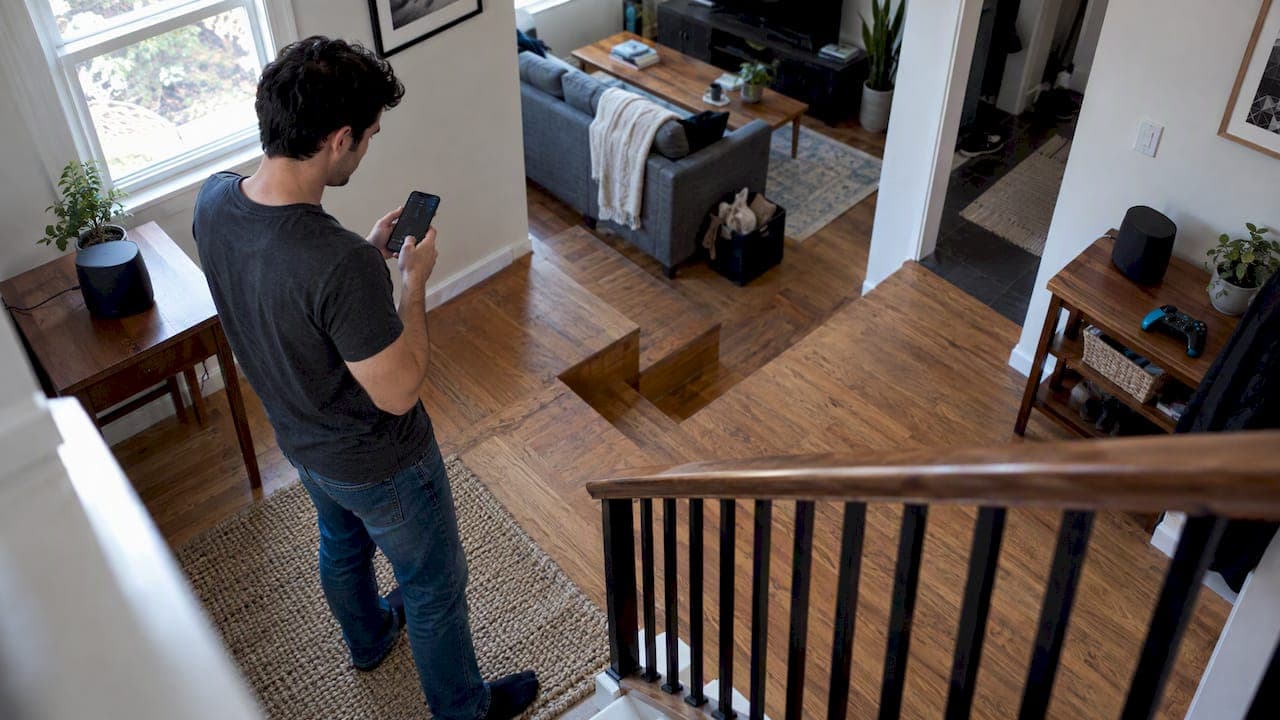
A quick two way latency and bufferbloat under load test is the fastest way to know whether your mesh Wi-Fi can handle low lag gaming: run it now before changing any hardware. If latency rises less than 15 to 25 milliseconds under upload load and stays stable, your mesh passes and you can move to per node checks. If it spikes past that, start with a QoS or SQM fix before buying new gear.
TL;DR:
- Keep two way latency near the 100 millisecond gaming budget, and track jitter and packet loss at the 95th and 99th percentiles.
- If latency rises more than 15 to 25 milliseconds during upload or download, enable SQM or CAKE, apply an upload cap, and retest.
- Test over Ethernet when packet loss appears under load; if it disappears, investigate wireless signal, retries, or node placement before contacting your ISP.
- Competitive or VR gaming calls for wired links or dedicated mesh backhaul; casual play at home can work with a dual band system.
Table of Contents
- What to measure for gaming and the thresholds that matter
- Repeatable test plan: baseline, under load, and per node checks
- Turning your results into the right fix, in order
- 20 to 30 minute troubleshooting checklist
- How GrandSpeed maps to these tests
- Comparing popular mesh systems for gaming suitability
- Cost and value: what you are actually paying for
- How long setup and tuning actually takes
- Choosing mesh Wi-Fi for your home size and gaming load
- Key hardware features that actually affect gaming performance
- Setting up and configuring your mesh for gaming
- When mesh is enough, and when to insist on wired
- Run the test before you change anything
- FAQ
- Sources
What to measure for gaming and the thresholds that matter
Gaming performance depends on a handful of numbers, not a single speed test score. Two way latency, packet delay variation (PDV, often called jitter), and packet loss together decide whether your connection feels smooth or jumpy under real play.
ITU-T G.1051 recommends a two way delay budget around 100 milliseconds for high interactive gaming, with one way delay near 50 milliseconds, measured under realistic traffic patterns rather than idle pings. PDV describes how much delay varies between packets, and RFC 3393 frames why the high percentiles of that distribution, not the average, decide how much buffering an application needs to stay smooth.
- Latency: keep two way RTT near the 100 millisecond budget for competitive play, checked under load, not at idle.
- Jitter/PDV: watch the 95th and 99th percentiles, since rare spikes are what cause visible stutter.
- Packet loss: aim for near zero. Even small loss rates during fast exchanges can desynchronize gameplay or VR prediction.
- Bufferbloat: a latency increase of more than about 15 to 25 milliseconds under load signals bufferbloat, according to testing guidance from the Bufferbloat project, and it is one of the most common hidden causes of gaming lag.
Record the median, the 95th percentile, the 99th percentile, and your single worst spike for each run. Averages hide the tail, and the tail is what you feel mid-match.
Repeatable test plan: baseline, under load, and per node checks
A clean test sequence takes about 20 minutes and produces numbers you can trust and compare over time.
- Set up for isolation. Connect a wired client where possible to separate Wi-Fi issues from ISP issues, and have a second device ready to generate load.
- Run a baseline idle test. With no other traffic, measure throughput, round trip latency, PDV, and packet loss using an active two way test method. STAMP, defined in RFC 8762, and TWAMP style tools are built for exactly this, since they capture directional asymmetry that a simple ping can miss.
- Run an under load test. Saturate the link with a sustained upload or download on the second device while repeating the latency and PDV measurement on the gaming client. This is when bufferbloat shows up, since it often only appears under short bursts of full link load.
- Check each mesh node. Stand near each satellite node and repeat a short test, watching for spikes during roaming or hand off. Sticky clients and poorly tuned steering thresholds are a common hidden cause of these spikes.
- Record everything. Note the time, device, node, and percentile results for each run, and save a screenshot or export so you can compare before and after fixes or share with support.
For quick spot checks between formal runs, continuous ping or UDPST style tools work well, but save the full STAMP or TWAMP style active two way test for your baseline and under load runs since they report loss and PDV with more precision.
Pro Tip: Run every test at the same time of day for a few days before concluding anything, since neighborhood Wi-Fi congestion and ISP peak hours can swing your numbers as much as your own hardware does.
For a deeper walkthrough on hitting consistent low ping, see our guide to reducing ping and jitter for gaming.
Turning your results into the right fix, in order
Match what you measured to the fix that actually addresses it, then retest to confirm.
- Latency rises more than 15 to 25 milliseconds under load: this is bufferbloat. Enable SQM or CAKE, or set a QoS upload cap, then rerun the under load test.
- PDV or spikes are frequent but the median is fine: suspect roaming behavior. Check 802.11k/v/r support, inspect per node results, and consider wired backhaul between nodes.
- Packet loss exceeds roughly 0.1% or appears only during load spikes: isolate the cause with a wired test. If loss disappears on Ethernet, the problem is wireless signal or retries, not your ISP.
- Node level fixes: reposition or rechannel a struggling node, switch to wired backhaul where you can, and adjust steering or hand off thresholds in the mesh app.
A single run is not proof. Repeat each test two to three times after a change and compare the 95th and 99th percentiles, not just the median.
| Symptom | Likely cause | Fix | What to confirm after retest |
|---|---|---|---|
| Latency jumps under load | Bufferbloat | Enable SQM/CAKE or QoS cap | Rise under load back under 15 ms |
| Jitter spikes, median fine | Roaming/hand-off | Check 802.11k/v/r, add wired backhaul | Spikes drop at per-node checks |
| Loss only under load | Wireless retries or congestion | Rechannel node, reduce 2.4 GHz load | Loss near zero on repeat runs |
| Loss on wired too | ISP-side issue | Escalate with exported results | ISP confirms or resolves issue |
20 to 30 minute troubleshooting checklist
Run this sequence before a big match or stream to catch problems early and build proof for any support ticket.
- Plug a PC into Ethernet and repeat your latency and loss test to confirm whether the issue is wireless or upstream of your router.
- Enable SQM or CAKE, or set an upload QoS cap, pause any background uploads or cloud backups, and rerun the under load test.
- Force your gaming device onto the 5 GHz or 6 GHz band if it is stuck on 2.4 GHz, and rebalance other clients across nodes.
- Try a wired backhaul link between mesh nodes, change the backhaul channel, or temporarily remove a weak node to see if results improve.
- Save your before and after results, screenshots, or CSV exports so you have evidence ready if you need to escalate to your ISP.
Our step-by-step bufferbloat fix guide walks through enabling SQM and proving the fix worked, and our packet loss troubleshooting checklist covers the loss specific steps in more detail.
How GrandSpeed maps to these tests
Our speed test reports the fields this guide discusses: two way latency, jitter, packet loss, a bufferbloat indicator, and stream resolution information. Run the test at idle, then again under load, and note each field side by side. Export or screenshot both runs so you can compare percentiles later or attach them to an ISP ticket.
For configuration details on routers and QoS beyond testing, our router QoS guide for gamers and guide to optimizing streaming cover the settings side. This guide was written by Peter D, who covers network testing and diagnostics for gamers and streamers on our blog.
Comparing popular mesh systems for gaming suitability
Mesh systems differ mainly in backhaul quality, band steering intelligence, and how well they hold latency steady under load, which matters more for gaming than raw throughput numbers.
Tri-band systems with a dedicated wireless backhaul channel tend to hold latency steadier under load than dual-band systems, since gaming traffic is not forced to share the same channel as the connection between nodes. Systems that support Wi-Fi EasyMesh and newer Multi-Link Operation features can improve stability further, but only when the controller and steering thresholds are tuned correctly. Poorly configured steering can cause sticky clients and roaming delays regardless of how advanced the hardware is.
Budget dual-band mesh kits are usually fine for casual or single player gaming in smaller homes, provided you confirm this with your own under load test rather than assuming it from the spec sheet. Higher end tri-band kits with dedicated backhaul and wired backhaul support are the safer choice for competitive play, larger homes, or households running simultaneous gaming and streaming.
For readers comparing specific hardware, catalogs like PCComparate's Wi-Fi 7 mesh listings track current models and pricing, though any unit should still be verified with your own latency and bufferbloat test after setup rather than trusted on specs alone.

Cost and value: what you are actually paying for
Mesh pricing scales mostly with backhaul quality, band count, and processing power, not with gaming specific features, since no mesh vendor sells a dedicated gaming tier with different protocols.
Entry level dual-band mesh kits are the cheapest option and can work for casual gaming in modest homes, but they share the backhaul channel with client traffic, which is the most common source of latency spikes under load. Mid-range tri-band kits add a dedicated backhaul band, which is often the single highest value upgrade for gaming since it keeps node-to-node traffic from competing with your game traffic. Premium Wi-Fi 7 tri-band or quad-band systems with Multi-Link Operation cost the most and target larger homes or households with many simultaneous high-bandwidth devices.
The better predictor of whether a given price tier is worth it is not the spec sheet but your own measured 95th percentile latency under load after setup. A mid-range kit that holds latency steady under load delivers more gaming value than a premium kit left on default settings with steering and QoS untouched. Spend on wired backhaul cabling before spending on a pricier mesh tier, since a wired backhaul link often closes more of the latency gap than an extra few hundred megahertz of radio bandwidth.
How long setup and tuning actually takes
Basic mesh installation, pairing nodes and getting internet access working, typically takes 20 to 40 minutes for a two or three node system using the vendor's app.
Getting it gaming ready takes longer. Budget another 20 to 30 minutes for the diagnostic sequence in this guide: baseline test, under load test, and per node checks. If that testing reveals bufferbloat or roaming issues, plan for an additional 15 to 30 minutes to enable SQM or CAKE, adjust steering thresholds, or rechannel a node, plus time to rerun the tests and confirm the fix held.

Running wired backhaul between nodes, when your home allows it, adds the most time: usually an hour or more depending on cable runs and whether you are fishing wire through walls versus using existing conduit. This step also tends to produce the biggest and most lasting improvement in tail latency, so it is worth the extra time for anyone serious about competitive play.
All told, a gaming-ready mesh setup with full diagnostics runs roughly one to two hours for most homes, and closer to half a day if wired backhaul installation is involved. None of this is optional if you want numbers you can trust rather than a guess based on how the game felt one evening.
Choosing mesh Wi-Fi for your home size and gaming load
The right mesh setup depends on three things: square footage, device count, and how demanding your gaming is, not on marketing tiers.
For apartments or homes under about 1,500 square feet with light device counts, a two node dual-band or tri-band mesh kit is usually enough, provided your under load test shows stable latency. For homes between 1,500 and 3,000 square feet, or households with ten or more connected devices, a three node tri-band system with dedicated backhaul reduces the odds that gaming traffic competes with everything else on the network. Larger homes or ones with thick walls generally need three or more nodes regardless of system tier, since coverage gaps force devices onto weaker, higher latency connections.
Gaming intensity changes the calculus more than square footage does. Casual or single player gaming tolerates more variance, so a budget mesh kit that passes your baseline test is fine. Competitive multiplayer or VR gaming has a much smaller margin, since even brief packet loss during fast exchanges can desynchronize play, so prioritize wired backhaul and a tri-band or higher kit over an extra node of coverage. When in doubt, test before you buy more hardware: a poorly placed node often causes more lag than an underpowered mesh system.
Key hardware features that actually affect gaming performance
Three hardware factors drive how a mesh system behaves under gaming loads: processor speed, memory, and antenna or band design.
A faster processor and more RAM in each node matter most when a household runs many simultaneous connections, since weak hardware struggles to manage QoS rules and client steering under heavy traffic, which shows up as inconsistent latency rather than low throughput. Antenna design and band count determine how well a node holds a strong, low-retry connection, and a dedicated backhaul band, found in tri-band and higher systems, keeps node-to-node traffic off the same channel as your game traffic. Systems supporting Wi-Fi EasyMesh coordinate these resources across nodes more intelligently, but the benefit depends on correct controller tuning rather than the feature existing on a spec sheet.
None of these features guarantee gaming performance on their own. A system with excellent specs but a sticky client stuck on a far node, or steering thresholds left on factory defaults, can still produce the latency spikes this guide teaches you to catch. Treat the spec sheet as a starting point and the under load test as the actual verdict.
Setting up and configuring your mesh for gaming
Good configuration matters more than any single hardware spec, and most of it takes only a few minutes once you know where to look.
Start by setting a static IP or DHCP reservation for your gaming device, which makes QoS rules and port forwarding reliable instead of breaking every time the device reconnects. Enable Smart Queue Management or CAKE if your mesh system supports it, since this is the single most effective setting for controlling bufferbloat under load. Where SQM is not available, set a manual QoS rule prioritizing your gaming device's traffic, and cap background upload speeds a little below your line's real upload capacity so bulk traffic cannot fill the queue.
Check band steering settings and, if your gaming device is wrongly parked on a weaker band or a distant node, either disable aggressive steering for that device or assign it manually. If your mesh app exposes 802.11k/v/r roaming controls, confirm they are enabled, since this is what prevents the hand off delays that cause spikes during per node testing. Finally, rerun your baseline and under load tests after every change. A setting that looks right in the app only counts once your percentile numbers confirm it. Our QoS configuration guide covers specific caps and CAKE settings in more depth.
When mesh is enough, and when to insist on wired
For casual or social gaming, mesh is fine as long as your 95th and 99th percentile numbers hold steady under load. For competitive or VR play, I lean toward wired for the gaming device itself, even on an otherwise strong mesh network, since the margin for packet loss is too thin to risk. A hybrid setup, wired backbone with mesh covering the rest of the house, is the most practical middle ground. Run a quick check before any session that matters.
— Peter D
Run the test before you change anything
Running the GrandSpeed Speed Test first tells you whether you actually have a mesh problem or just an untuned one, and it costs nothing but a few minutes.
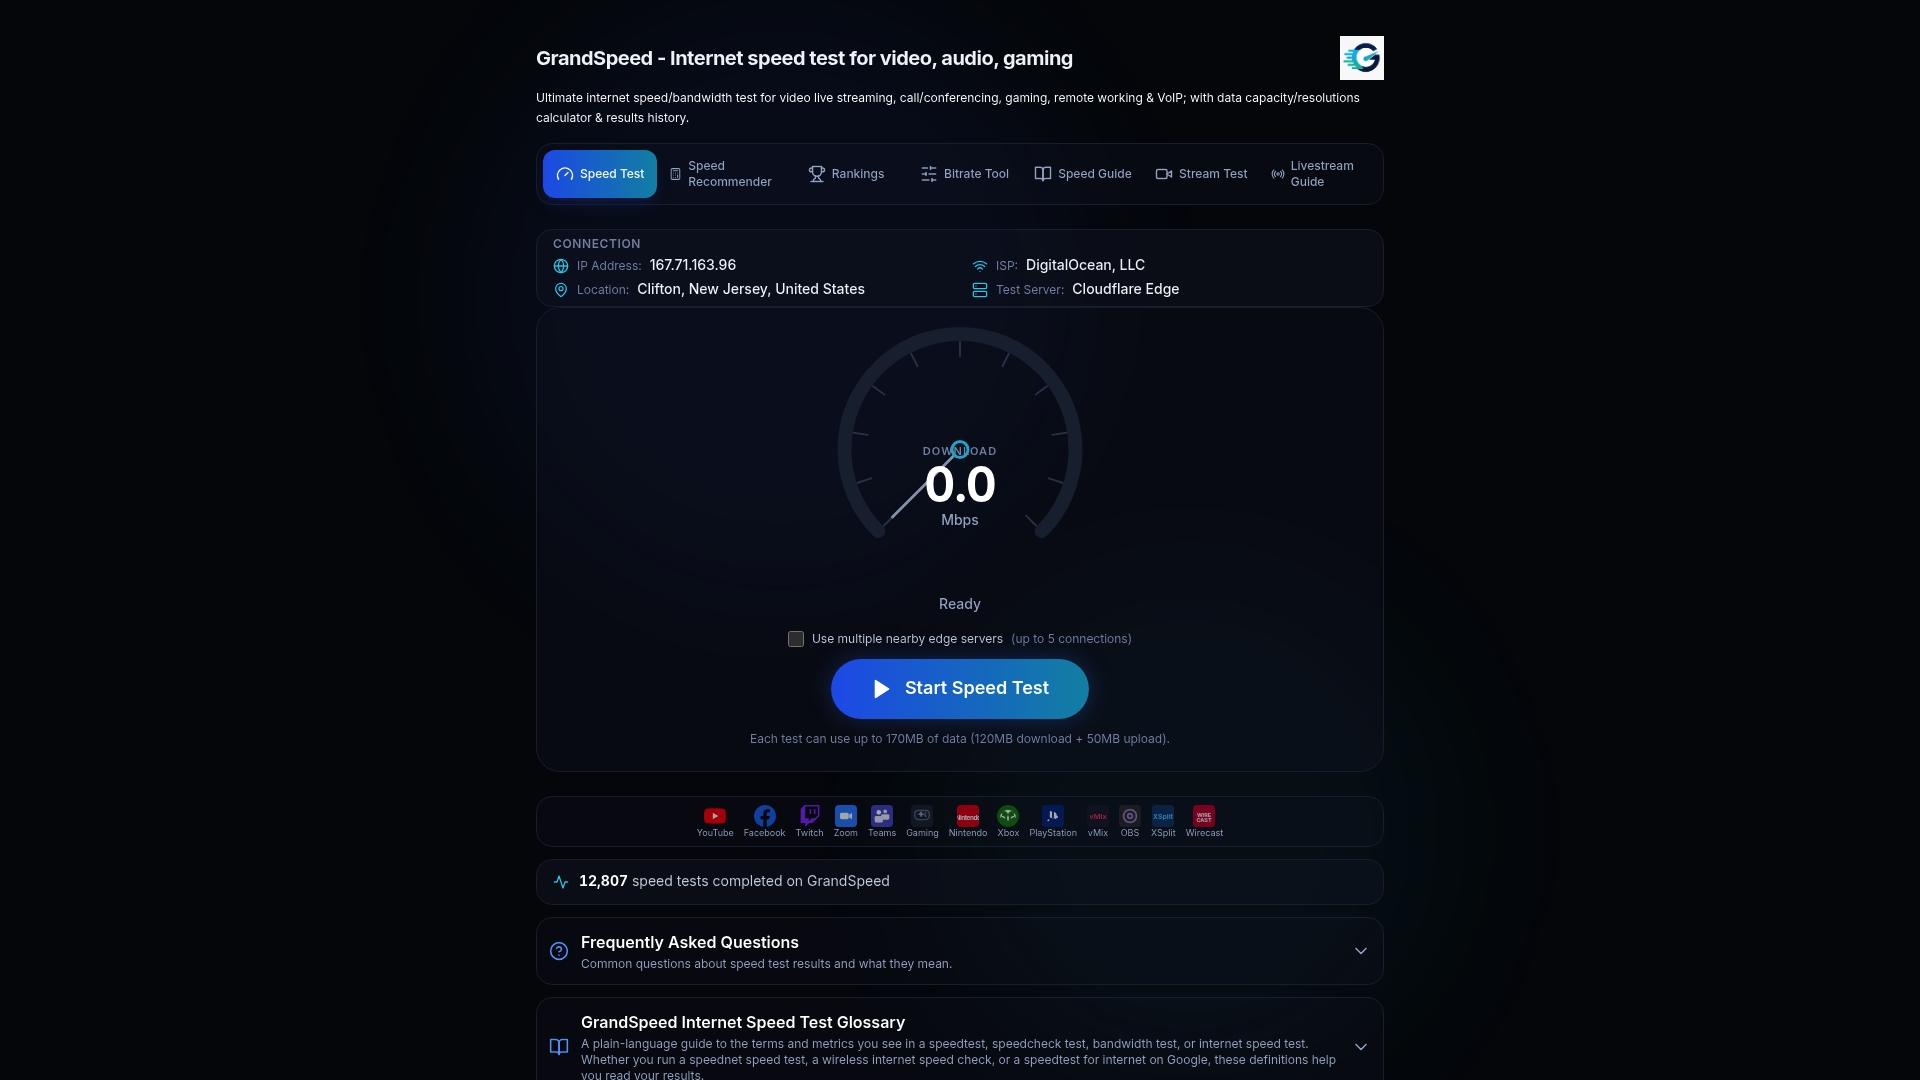
- Run a baseline test with no other traffic on the network.
- Run a second test under sustained upload or download load.
- Export or screenshot both results, including the bufferbloat and jitter fields.
- Compare the 95th and 99th percentiles before and after any fix.
Keeping a saved export also makes any ISP escalation faster, since you arrive with numbers instead of a description of how the game felt.
FAQ
What latency is good enough for online gaming?
A two way round trip latency near 100 milliseconds is the general budget for high interactive gaming, based on ITU-T G.1051 guidance. Competitive and VR titles benefit from staying well under that budget, since the 95th and 99th percentiles matter more than the average.
How do I know if my mesh Wi-Fi has bufferbloat?
Run a latency test at idle, then repeat it while a device on your network uploads or downloads heavily. According to Bufferbloat project testing guidance, a rise of more than 15 to 25 milliseconds under that load indicates bufferbloat, which SQM or CAKE can usually correct.
What packet loss is acceptable for gaming?
Packet loss should be as close to zero as possible, since even small amounts during fast exchanges can cause stutter or desynchronization in competitive or VR titles. If loss appears only under load but disappears on a wired connection, the cause is wireless retries or congestion rather than your ISP.
Does GrandSpeed show bufferbloat and jitter for gaming?
Yes, the speed test reports latency, jitter, packet loss, and a bufferbloat indicator alongside supported stream resolution, which covers the core fields this guide recommends checking.
How often should I retest my mesh network?
Retest after any configuration change, and run a quick baseline and under load check before sessions where lag would matter most. Keeping a short history of results makes it easier to spot whether a problem is new or has been present all along.
Sources
- Bufferbloat tests and guidance (Bufferbloat project)
- ITU-T G.1051 — Latency measurement and interactivity scoring
- Wi‑Fi CERTIFIED EasyMesh technology overview
- RFC 3393 — IP Packet Delay Variation Metric for IPPM