

The fastest reliable bufferbloat fix is to confirm it with a proper test, then enable Smart Queue Management (fq_codel or CAKE) on whatever router controls your bottleneck. That single move usually collapses latency spikes from hundreds of milliseconds down to single digits under load, without touching your actual bandwidth.
TL;DR:
- Enabling Smart Queue Management algorithms like fq_codel or CAKE on your router usually reduces latency spikes from hundreds of milliseconds to single digits under load.
- Proper testing requires measuring latency during a sustained upload to identify bufferbloat, which causes significant latency jumps despite high download speeds.
- For optimal results, set your router’s bandwidth limits to about 85% of your measured speed and retest after each adjustment to prevent latency creep.
- If your modem or ISP gateway lacks SQM options, placing a capable router in front of it and putting it into bridge mode can effectively control bufferbloat.
- Using diagnostic tools like Waveform's bufferbloat test or GrandSpeed's metrics helps verify if enabling SQM actually improves latency under load.
Table of Contents
- Quick Checklist: What to Do Right Now
- How Do You Test for Bufferbloat?
- How to Enable SQM on Your Router
- When Should You Replace or Reposition Your Router?
- Endpoint and OS Tweaks: What Actually Helps
- How to Tune Your Bandwidth Limits After Enabling SQM
- Troubleshooting Common Bufferbloat Mistakes
- My Take: Bufferbloat Is the Lag Fix Nobody Talks About
- See Your Bufferbloat Score Before You Touch a Setting
- Primary Sources and Further Reading
- Sources
Quick Checklist: What to Do Right Now
Before you dig into router menus, run through this sequence. It takes about 20 minutes and tells you exactly where you stand.
- Run a bufferbloat-capable test. Use the Waveform bufferbloat test or GrandSpeed's stream test and write down the latency-under-load grade.
- If bufferbloat shows up, find your SQM setting. Look for "Smart Queue Management," "Adaptive QoS," or "fq_codel/CAKE" in your router's admin panel.
- No SQM option? Add a capable router. Put one in front of your ISP's modem or gateway and disable the ISP device's Wi-Fi and routing functions.
- Enter your real speeds at about 85% of measured throughput, not the number on your ISP bill.
- Re-run the same test on the same device, same time of day, to compare apples to apples.
- Save every result. A test history is the only way to prove the fix actually worked.
Pro Tip: Test at the exact time you usually notice lag, like 8 PM when your neighbors are streaming too. Bufferbloat often gets worse under shared network load, and a mid-afternoon test can hide the problem entirely.
How Do You Test for Bufferbloat?
Bufferbloat hides behind a normal-looking speed test. Your download might show 300 Mbps and your ping might look fine at idle, then everything falls apart the moment you start an upload, like a game client patching in the background or a video call syncing files.
A proper diagnostic needs to load the connection and watch what happens to latency while that load is active. Three tools handle this well:
- Waveform's bufferbloat test grades your connection under simultaneous upload and download saturation, and it's built specifically to expose this problem rather than just measure raw speed.
- GrandSpeed's diagnostics measure latency, jitter, packet loss, and bufferbloat together, then store the results so you can compare runs over time instead of trusting memory.
- flent, a Linux-based tool, gives advanced users repeatable, scriptable tests with far more granularity than a browser-based check, which matters if you're troubleshooting a multi-device setup or a complicated topology.
The test sequence that actually tells you something: measure idle latency first, then run a sustained upload test (not download, since upload saturation is where most home connections choke), and watch what the round-trip time does. Bufferbloat happens because oversized buffers absorb packets faster than they can be sent, and standard TCP congestion control never gets the signal to slow down. The result is a queue that keeps growing instead of draining.
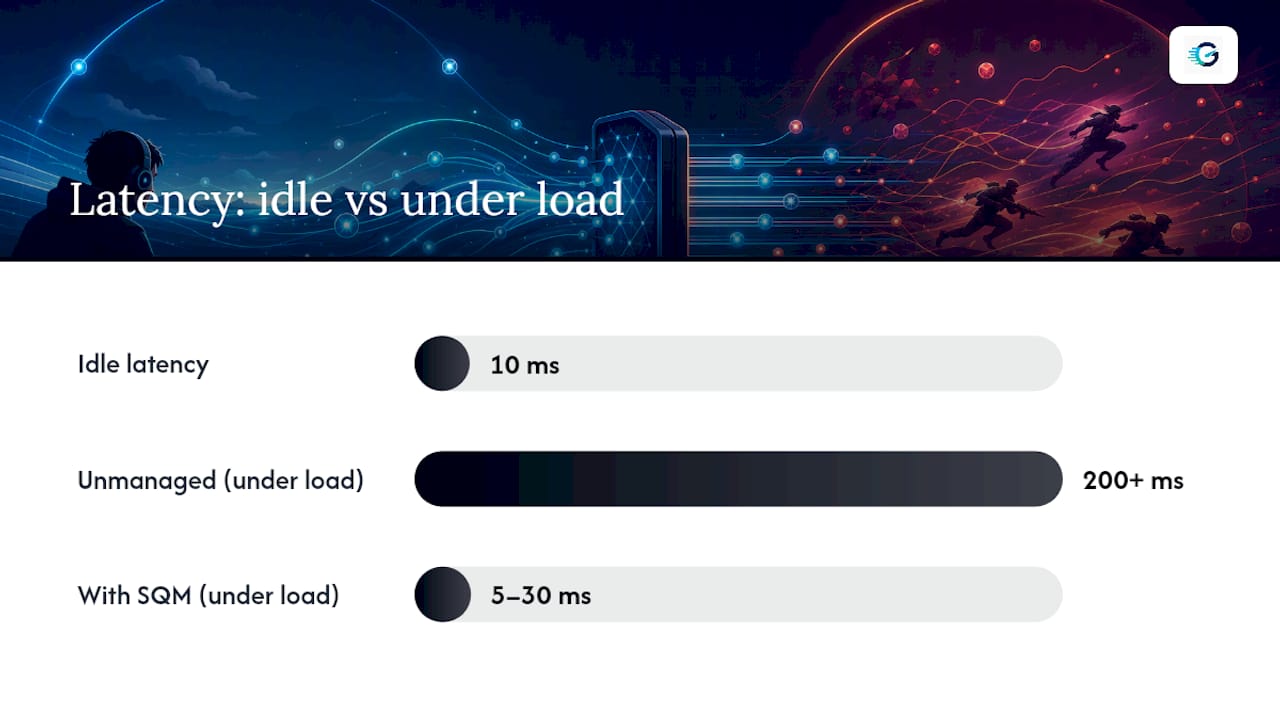
The numbers to watch: an unmanaged connection can see latency jump from 10ms at idle to 200ms or more under load. That gap, not your download speed, is the bufferbloat signature. A well-tuned connection with SQM enabled should hold latency increase under load to roughly 5 to 30 milliseconds, according to grading criteria used by tools like Waveform. Run the same test again after every change and keep the numbers side by side. Without a before-and-after record, you're guessing whether anything actually improved.
How to Enable SQM on Your Router
Smart Queue Management is the umbrella term for the algorithms that actually solve bufferbloat: fq_codel and CAKE. Both work by actively managing queue length, dropping or marking packets early so your device's TCP stack gets the signal to slow down before the queue balloons, which is exactly the mechanism traditional routers lack. CAKE goes a step further and adds fairness between devices along with better handling for variable-rate connections like DSL.
On stock firmware:
- Log into your router's admin panel and look under Advanced Settings, QoS, or Bandwidth Control.
- Search for "Smart Queue Management," "Adaptive QoS," or occasionally just "fq_codel." Not every consumer router has this. Many budget models simply don't ship with an AQM algorithm at all.
- If you find it, select CAKE if offered; fq_codel if CAKE isn't available. Both are dramatically better than nothing.
- Enter your upload and download limits, then save and reboot.
On OpenWrt or LEDE:
- Install the
luci-app-sqmpackage through the Software menu or opkg. - Go to Network, then SQM QoS, and enable it on your WAN interface.
- Set the queuing discipline to
cake(the current default and generally the stronger choice) and pick your download/upload interface. - Enter shaped rates at roughly 85% of your tested speeds, not your plan's advertised number.
OpenWrt is where most of these AQM algorithms were originally developed and refined, so if your hardware supports it, installing it is often the single highest-leverage bufferbloat fix available to a home user. Check the OpenWrt Table of Hardware first. Not every router on the market is supported, and flashing unsupported hardware can brick it.
One thing that trips people up: SQM costs CPU cycles, so it's important to consider measuring proxy performance when testing your router's capabilities. A router with a weak processor that handles 500 Mbps fine without SQM might struggle to sustain that same throughput once CAKE is actively shaping every packet. Check community throughput benchmarks for your specific model before assuming you'll get full-speed performance with SQM turned on, especially above 300 to 500 Mbps.

Pro Tip: If your router's CPU maxes out under SQM, try fq_codel instead of CAKE. It's computationally lighter and still solves the core latency problem, even if it lacks CAKE's fairness features.
When Should You Replace or Reposition Your Router?
If your ISP-provided modem or gateway has no SQM option and never will, adding a separate router in front of it is usually the more practical fix than waiting on a firmware update that might never arrive. The goal is simple: move the network's bottleneck to a device you actually control.
Here's the topology change, step by step:
- Put your ISP device into bridge mode if it supports it. This turns off its routing and Wi-Fi functions so it just passes traffic through.
- Connect your new router's WAN port to the ISP device's LAN port. This puts your SQM-capable router in charge of the connection to the internet, not the other way around.
- Disable the ISP device's Wi-Fi entirely so no devices connect to it directly and bypass your shaping rules.
- Watch for double NAT if bridge mode isn't available. If you can't eliminate it through DMZ or bridge settings, call your ISP. Some gateways need an account-level flag flipped to unlock bridge mode.
- Pick hardware rated for your actual line speed with SQM active, not just its advertised maximum throughput.
When an ISP device can't be bridged, the fix is to place a router with SQM in front of it, WAN port to LAN port, with nothing else connected to the ISP gateway directly. This is the exact scenario most gamers on cable or DSL run into, since ISP-supplied gateways rarely expose any AQM controls at all.
Endpoint and OS Tweaks: What Actually Helps
Router-level fixes handle the bulk of the problem. Endpoint tweaks are smaller, secondary levers, worth trying only after SQM is running.
- Windows TCP autotuning, adjustable via
netsh interface tcp set global autotuninglevel=normalin an elevated command prompt, controls the size of the TCP receive window. Setting it too aggressively can actually make local buffering worse, so leave it on the default unless you have a specific reason to change it. - Linux users can experiment with
tcqueuing disciplines at the interface level or adjustnet.coresysctl buffer settings, but this only addresses your own device's contribution to the problem, not the router or modem queue where bufferbloat actually originates. - Gaming-specific network boost software on consoles or PCs can shave a few milliseconds, but it does nothing for the upstream queue sitting between you and your ISP.
Endpoint changes are worth trying if you've already fixed SQM and want to squeeze out the last few milliseconds. They're not worth your time as a first move, since they can't touch the actual cause of the latency spike sitting in your router or modem's buffer.
How to Tune Your Bandwidth Limits After Enabling SQM
Getting SQM turned on is only half the job. The shaping numbers you enter determine whether you get the full latency benefit or leave throughput on the table.
- Start at roughly 85% of your measured speed, not your plan's advertised speed. Field-tested guidance from router QoS practitioners backs this as the safest starting point, since it leaves enough headroom for the shaper to actually manage the queue instead of just relaying your ISP's own bloat.
- Re-test immediately after applying the change using the same tool you started with, ideally GrandSpeed's optimize streaming guide or a saved Waveform run, so you're comparing consistent conditions.
- Raise the limit in small increments, around 5% at a time, and retest after each change until latency under load starts climbing again.
- Back off one increment once you see latency creep back in. That's your real ceiling.
Controlled, incremental tuning beats trying to calculate a theoretically perfect buffer size from your line's bandwidth-delay product. Nobody actually knows their real-world round-trip time precisely enough to make that math meaningful at home, and the trial-and-error approach gets you there faster anyway.
For gaming, VoIP, or video calls, that trade is almost always worth taking, and you likely won't notice the throughput difference in daily use.
Troubleshooting Common Bufferbloat Mistakes
A few misconfigurations show up constantly, and they can leave you thinking SQM "didn't work" when the real issue is setup.
- Priority-based QoS is not the same as queue management. Ranking Zoom above Steam downloads doesn't drain a bloated queue. Moving from a priority-list approach to an actual SQM shaper produces measurably better real-world results, because a shaper manages the queue itself rather than just reordering what's already stuck in it.
- Entering the wrong link speed is the single most common error. If you type your plan's advertised 500 Mbps instead of your tested 420 Mbps, the shaper never actually engages, since it thinks it has more headroom than it does.
- Leaving the ISP device's Wi-Fi or routing active after adding a new router creates a second uncontrolled path onto your network, and any device connected to it skips your SQM entirely.
- Modem still the bottleneck? Test with your new router's SQM disabled temporarily. If latency under load returns immediately, the modem or ISP gateway is still in the traffic path somewhere.
Pro Tip: If a change makes things worse, don't guess. Disable SQM, reboot, re-test to confirm you're back to baseline, then reapply one change at a time so you know exactly which setting caused the shift.
My Take: Bufferbloat Is the Lag Fix Nobody Talks About
Most people chasing gaming lag do the expensive thing first: they call their ISP and pay for a faster plan. That almost never touches bufferbloat, because the problem was never bandwidth. Bufferbloat gets misdiagnosed as slow internet constantly, and upgrading from 300 Mbps to 1 Gbps changes nothing about a queue that's still absorbing packets it should be dropping.
What surprised me most going through the forums and field reports is how consistently people describe the fix as transformative once they actually apply it. One long-running Netduma forum thread has dozens of gamers independently reporting the same result: stable ping under load for the first time in years, not because their connection got faster, but because it finally stopped choking on its own buffer.
I'd tested a home connection that showed 8ms idle latency and 340ms under load, a gap that explains every rubber-banding moment in a competitive match. Nothing about the bandwidth changed. The queue did.
Run your own test before you touch a single setting. You need that baseline to know if anything you did actually worked.
— Peter D
See Your Bufferbloat Score Before You Touch a Setting
Guessing whether a router change worked is how people give up on SQM after one bad test. GrandSpeed measures bufferbloat alongside latency, jitter, and packet loss in a single run, and it keeps a saved history so you can line up your before-and-after numbers side by side instead of relying on memory.
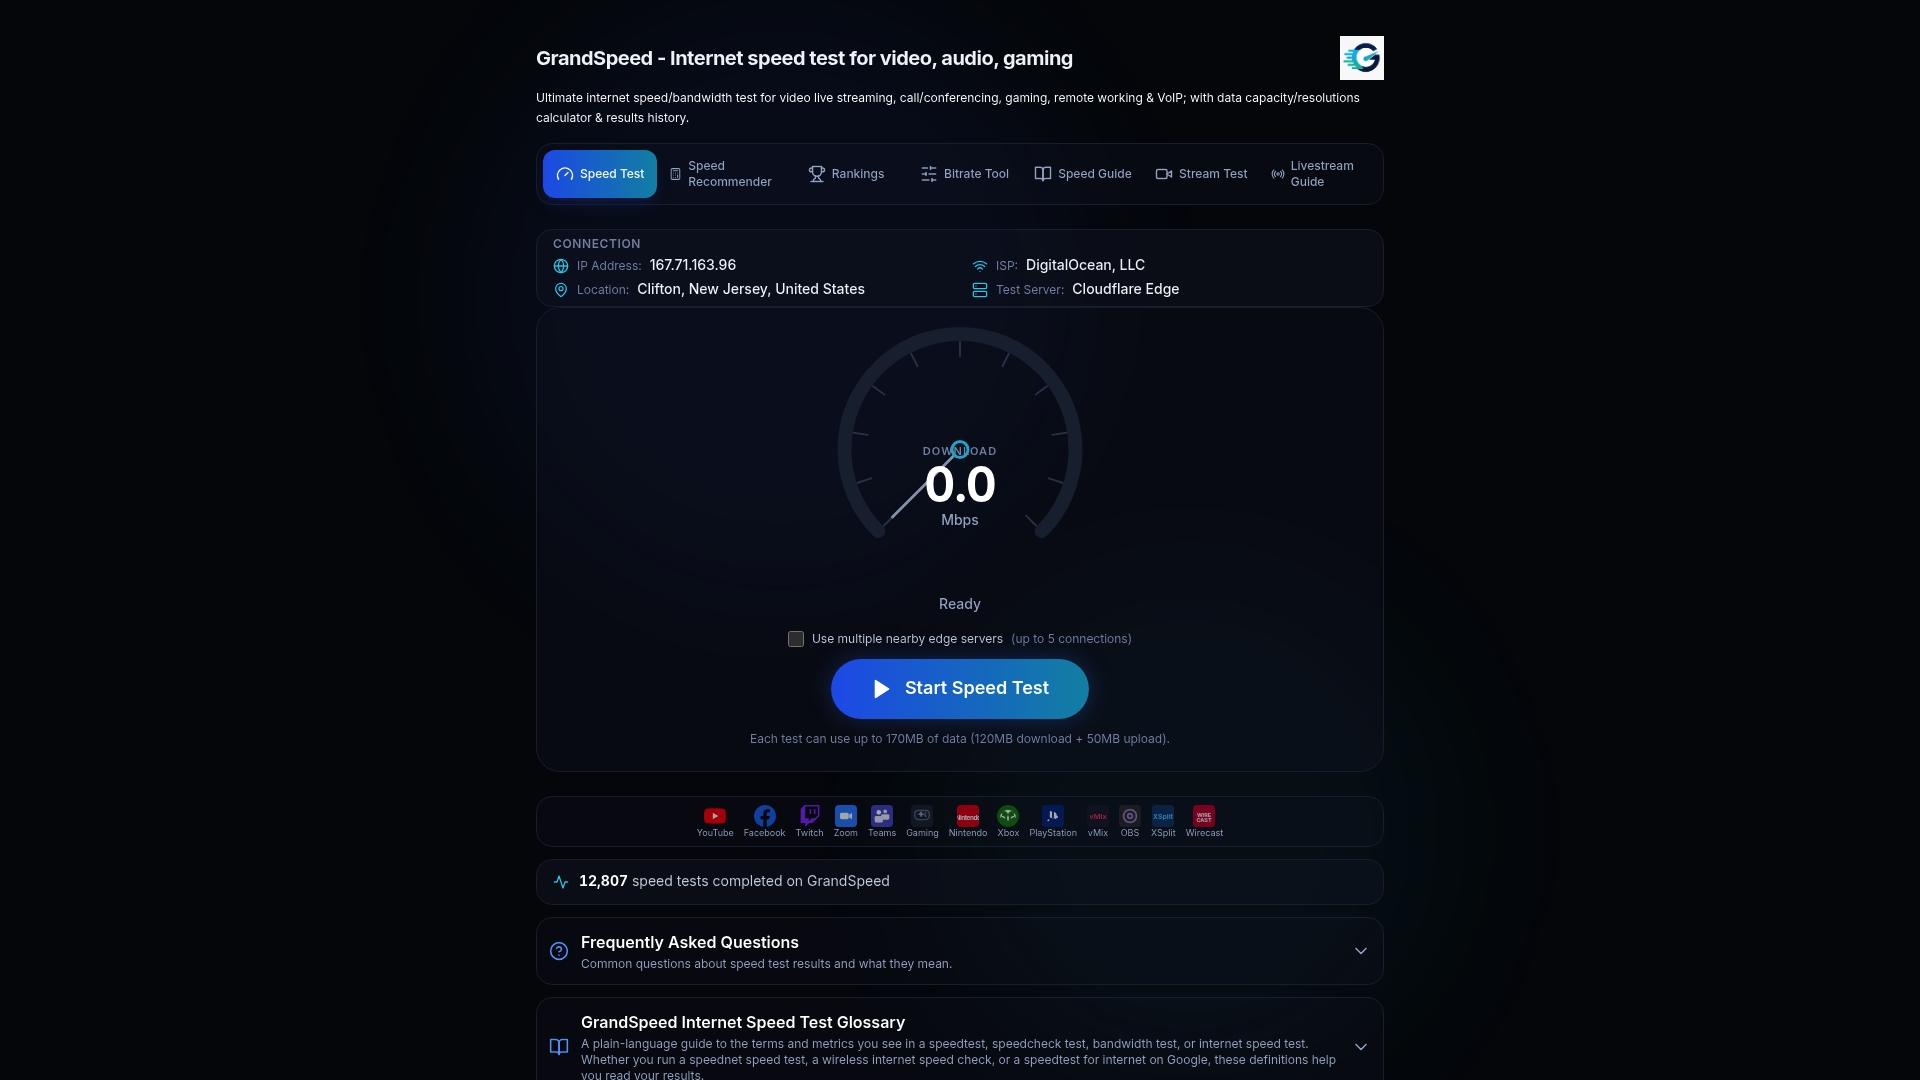
Beyond the raw numbers, GrandSpeed estimates the maximum streaming or broadcast resolution your connection actually supports right now, which matters if you game while streaming to viewers and need to know your upload can handle both at once. It runs in any modern browser, on your phone, tablet, or laptop, over Wi-Fi or cellular, so you can test from the same device you actually game on.
Before you open your router's admin panel, run a bufferbloat and latency test and save the result. Make your SQM change, test again, and check the saved history to confirm the fix actually landed instead of assuming it did.
Primary Sources and Further Reading
- Bufferbloat: the primary reference for SQM recommendations and modem bridging guidance.
- OpenWrt: the firmware platform where fq_codel and CAKE were developed and tested.
- Bufferbloat, Communications of the ACM: the foundational technical explanation of why oversized buffers cause latency.
- Waveform bufferbloat test: the standard browser-based diagnostic tool for grading bufferbloat.
- Router QoS and bufferbloat fixes, XDA Developers: practical shaping guidance, including the 85% starting rule.
- flent: an advanced testing suite for readers who want repeatable, scriptable diagnostics beyond a single browser test.
Sources
- Bufferbloat
- Bufferbloat – Communications of the ACM
- Bufferbloat and Internet Speed Test - Waveform
- Router QoS and bufferbloat fixes (XDA Developers)
- OpenWrt