

If you calculate upload for streaming, you start from your real connection instead of a spec sheet, and you leave room for the dips that cause dropped frames.
TL;DR:
- For AVC, target 9–12 Mbps upload for 1080p60 and 25–35 Mbps for 4K60; fast motion needs the upper end, while static scenes need less.
- Choose the lower of your platform’s bitrate ceiling and 50–75% of steady measured upload, then subtract audio before setting the encoder.
- Leave about 20% of upload unused, aim for 1.5 to 2 times the combined bitrate when simulcasting, and pause cloud backups before testing.
- If frames drop, first reduce bitrate by 200–500 kbps; if that fails, lower resolution or frame rate, switch to wired Ethernet, and stop background uploads.
Table of Contents
- How does the bitrate calculator math work?
- What bitrate should you use for each resolution and frame rate?
- Which platform limits should cap your bitrate?
- How much headroom should you leave?
- How do you test and verify your upload capacity?
- What should you do if upload falls short?
- Why reliability should beat peak quality
- Test your upload and plan your bitrate with us
- FAQ
- Sources
How does the bitrate calculator math work?
Most calculators start with pixels per second: width × height × frames per second. A 1920×1080 stream at 60 fps pushes about 124 million pixels every second. The calculator then multiplies that figure by a quality factor tuned to the codec and converts the result to kilobits per second. You can skip the multiplication and use the ranges in the next section, but knowing the logic helps you spot a bad recommendation.
The part you control is simple arithmetic:
- Stream bitrate: video bitrate (kbps) + audio bitrate (kbps). Add the video and audio bitrates to calculate the total stream bitrate.
- Unit conversion: divide kbps by 1,000 to get Mbps. Compare that to your upload speed, which is always quoted in Mbps.
- Connection-based maximum: convert measured upload to kbps, then multiply by your allocation. With a measured 20 Mbps and a 60% allocation, that is 20,000 × 0.60 = 12,000 kbps.
- Multiple outputs: simulcasting to two platforms or sending a backup feed means you add every outgoing bitrate together before you compare against upload.
Our video bitrate calculator runs these conversions for you.
What bitrate should you use for each resolution and frame rate?
Treat these as starting points for H.264, the codec nearly every platform accepts. Xfinity's published guidance puts recommended upload speeds at 3–6 Mbps for 720p30, 6–9 Mbps for 1080p30, 9–12 Mbps for 1080p60 and 25–35 Mbps for 4K60. YouTube's encoder guidelines land in the same neighborhood, with about 12 Mbps recommended for 1080p60 and about 35 Mbps for 4K60.
- 720p at 30 or 60 fps: the low end of the range works for talking-head content; use more for 60 fps.
- 1080p at 30 or 60 fps: the most common target for gaming and events.
- 1440p at 30 or 60 fps: sits between 1080p and 4K, so scale your bitrate between those two ranges.
- 4K at 60 fps: needs the most upload by a wide margin, and only some platforms ingest it.
- Audio: YouTube lists 128 kbps for stereo audio in its encoder settings guide.
Codecs matter. HEVC and AV1 can hold similar quality at lower bitrates than H.264, but support on the ingest side varies, so check your platform first. Motion matters too. A fast shooter or sports feed needs the upper end of a range, while a static desktop or interview can sit near the bottom.
Which platform limits should cap your bitrate?
Platforms publish both a recommended range and a hard ingestion ceiling. Your encoder can send more than the platform wants, but the extra bits are either rejected or wasted. That is why the platform maximum belongs in every calculation, right next to your upload.
- YouTube publishes bitrate ranges by resolution and frame rate in its encoder settings guide, and it transcodes your stream so viewers on slow connections get lower quality options.
- Twitch advises that your upload be at least your stream bitrate plus 30%. Its streaming FAQ gives the example that a 6 Mbps stream may need about 8 Mbps of upload.
- Transcoding differs by platform. Where transcoding is not guaranteed, viewers on weak connections may get only the quality you send, which pushes you toward a moderate bitrate.
The practical rule: pick the lesser of your connection-based maximum and the platform maximum, then confirm it against the platform's recommended range for your resolution.
How much headroom should you leave?

Plan to leave about 20–50% of your upload free. YouTube's streaming tips suggest about 20% headroom, while its multi-platform guidance recommends an upload of 1.5–2× your combined stream bitrate for stability. Our guide to best internet for streaming covers the same 1.5–2× idea in more depth.
Several things eat into the upload you think you have:
- Other devices: cloud backups, game uploads and a family member's video call all compete with your stream.
- Packet loss and jitter: lost packets force retransmission, which effectively shrinks usable capacity.
- Bufferbloat: a congested router queue adds delay even when your bitrate graph looks flat.
- Encoder settings: constant bitrate (CBR) keeps output steady and is the safe default for live work, while variable bitrate (VBR) can spike above your target. A keyframe interval of 2 seconds is a common platform expectation.
Pro Tip: Pause cloud sync and system updates on every device in the house before you go live, then run your test with those apps closed.
How do you test and verify your upload capacity?
A single quick test can catch a lucky spike. Use a repeatable routine instead.
- Close background apps and run a sustained upload test, ideally on the same wired connection you will stream from. Our Stream Test tests video streaming quality, and our free bandwidth test guide walks through reading the result.
- Take the steady outbound figure, not the peak, and convert it to kbps.
- Multiply by 50–75%. OBS recommends starting at about 75% of total upload speed, so treat that as the upper bound.
- Subtract audio, then enter the result in your encoder, capped at the platform maximum.
- Watch your encoder's output graph and the platform's stream health panel during the broadcast. Twitch's broadcast health guide suggests lowering bitrate live until frames stop dropping.
What should you do if upload falls short?
Act fast and change one thing at a time so you know what worked.
- Cut bitrate by 200–500 kbps first. Viewers rarely notice, and it often stops the drops.
- Drop resolution or frame rate if that is not enough, for example from 1080p60 to 1080p30.
- Lower audio bitrate toward 128 kbps if you are streaming music-light content.
- Switch to wired Ethernet and stop any background uploads.
- Try a nearer ingest server if your platform lets you choose one.
- Enable dynamic bitrate and TCP pacing in OBS, which the OBS documentation lists as stability options.
- Consider cellular bonding for unstable locations where a single line cannot hold a steady feed.
If you suspect the line itself is the problem, our guide on why your upload speed is so slow covers common causes. If audio quality is part of the puzzle, this partner article on low-latency audio streaming explains how audio setups affect bandwidth.
Why reliability should beat peak quality
I treat reliability as the default and quality as the upgrade. For a paid event or a show with a live audience, leave generous headroom, because one freeze costs more than a slightly softer image. A solo gamer can push closer to the limit. A talk show can sit low in the range without anyone noticing. A multi-camera event needs the most headroom, since every extra feed adds to the total. Whatever you choose, rehearse with the exact setup before the real broadcast.
— Peter D
Test your upload and plan your bitrate with us
Numbers on a page only help once you plug in your own connection. We built our tools to help you assess it. Our speed test measures upload alongside latency, jitter and packet loss, and our Stream Test tests your network’s video streaming quality. Then our video bitrate planner helps you estimate video bitrate, upload bandwidth, and recording storage.
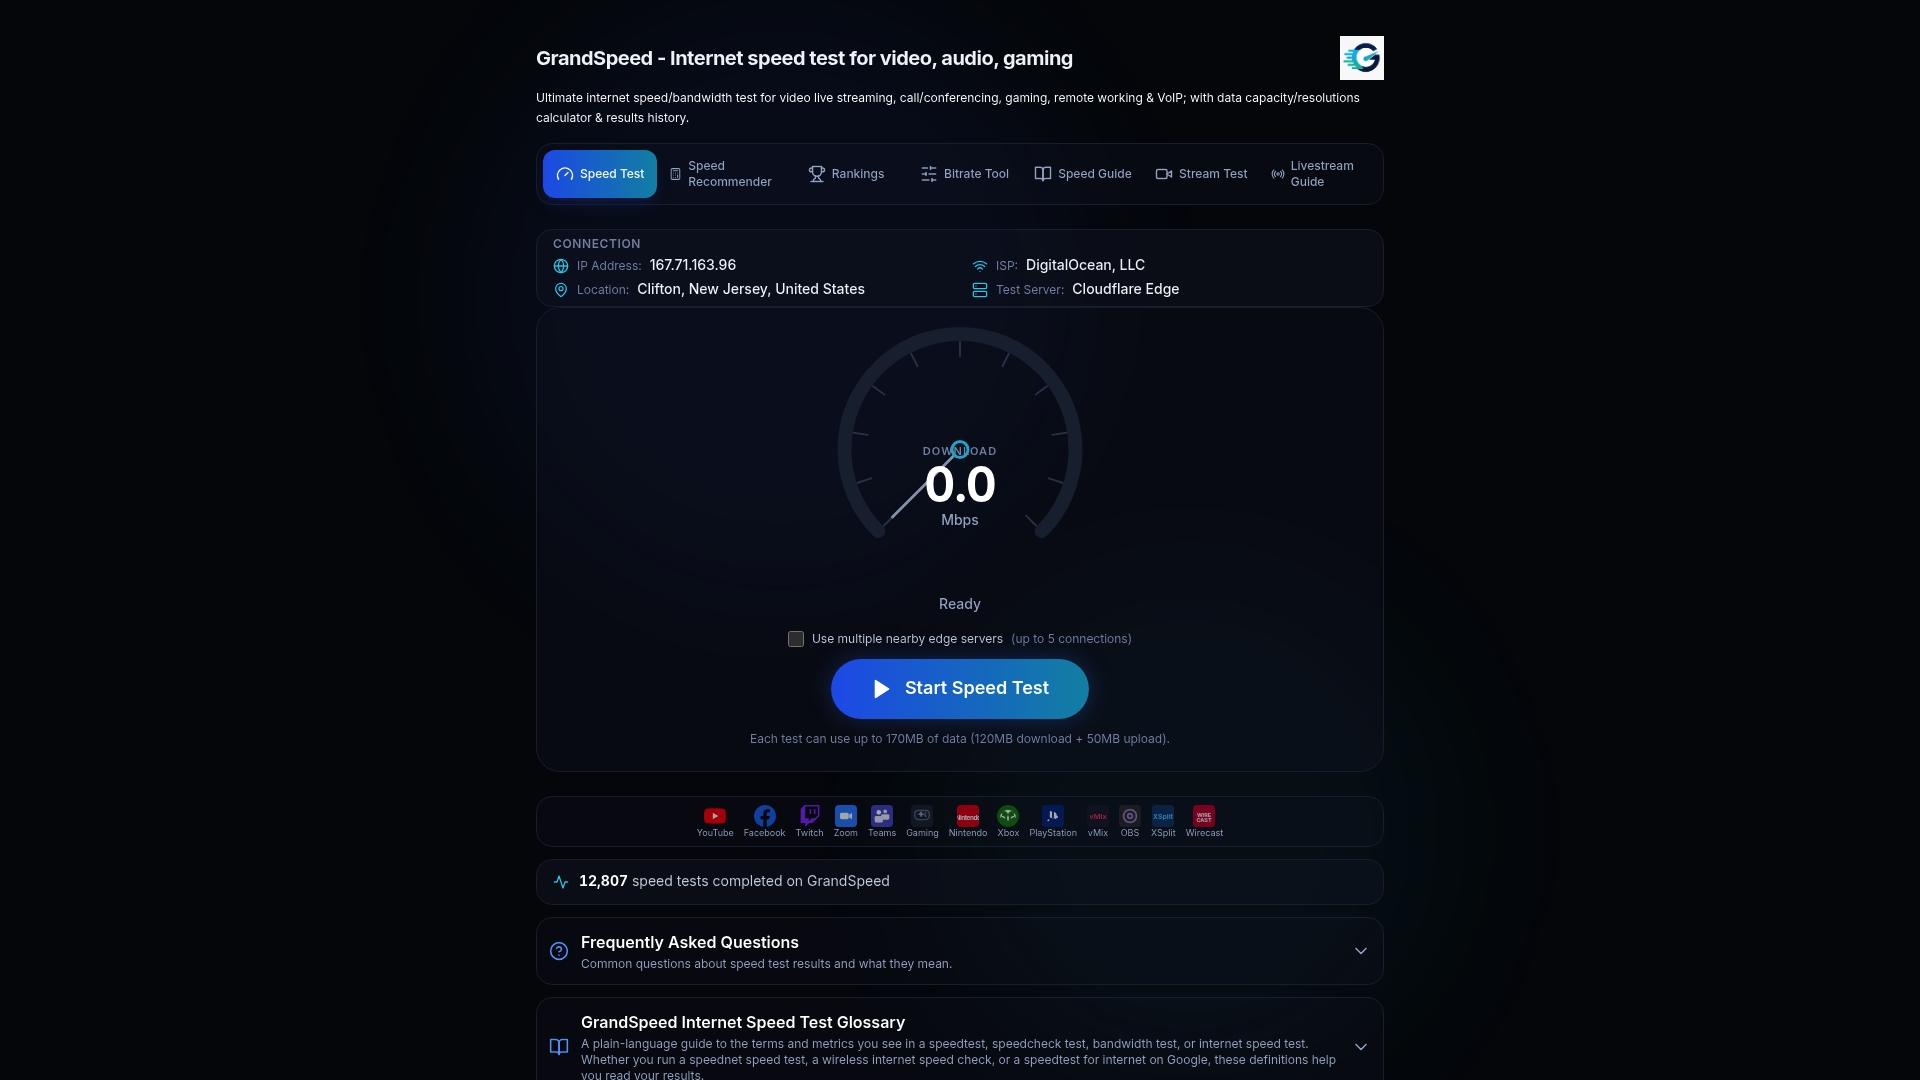
Before your first public broadcast, run a test, open the planner and copy the recommended bitrate into your encoder. During the show, our livestream monitor lets you keep an eye on upload while you broadcast. Run a free test now and set your bitrate with confidence.
FAQ
Is 20 Mbps upload good for streaming?
Yes, for most setups. It comfortably supports 1080p60, which Xfinity puts at 9–12 Mbps, and it leaves headroom for a second output or other devices on your network.
Is 30 Mbps upload enough for streaming?
For nearly all live streaming, yes. At 30 Mbps you can send a high-quality 1080p60 feed with generous headroom, and 4K60 becomes possible if your platform accepts it and you keep the 1.5–2× rule in mind.
Is 40 Mbps upload enough for streaming?
It is more than enough for single-stream 1080p and enough for a 4K60 feed with room to spare. The remaining capacity is useful for simulcasting, where you add each destination's bitrate together.
How much upload do I need for streaming?
Start from your target bitrate and multiply by 1.5 to 2, as YouTube advises. A 6 Mbps stream therefore calls for roughly 9–12 Mbps of real, measured upload.
Sources
- Choose live encoder settings, bitrates, and resolutions - YouTube Help
- How Do I Stream FAQ
- What Is a Good Upload Speed for Streaming?
- Stream Connection Troubleshooting | OBS