
The "best modem for streaming" isn't a specific box you can buy: it's whether your connection meets the upload, latency, jitter and packet loss thresholds a stable broadcast needs. Run a streaming-focused diagnostic test now to find out where you stand. The quick target: 1.5 to 2 times upload headroom over your planned ingest bitrate, latency under 25 milliseconds where possible, and packet loss close to zero.
TL;DR:
- Test from the streaming device over Ethernet for 2 to 3 minutes during broadcast hours; repeat and save results to reveal congestion and changing conditions.
- Choose an ingest bitrate between half and two thirds of measured upload, and use constant bitrate encoding; 8 Mbps supports 4 to 5.3 Mbps.
- If latency, jitter, or packet loss is the problem, lower resolution or frame rate, or switch to SRT or WebRTC instead of merely reducing bitrate.
- Fiber usually offers more predictable, symmetric upload, but test your actual line; cable can weaken at peak hours, while clean DSL may still suffice.
Table of Contents
- Which network metrics actually matter for streaming
- How to run a streaming-focused network test that gives actionable results
- Turning your test results into safe encoder settings
- Pre-stream checklist to stabilize your broadcast
- Key modem features that actually help with streaming
- Cable, DSL and fiber: which connection type suits streaming best
- Compatibility considerations with your ISP and streaming platform
- Security features that protect a streaming setup
- Recommended approaches for reliable streaming performance
- Integrating network diagnostics into your production workflow
- GrandSpeed: run the Stream Test for a streaming-specific diagnosis
- FAQ
- Sources
Which network metrics actually matter for streaming
Download speed gets all the marketing attention, but broadcasters live and die by upload. Your stream, your video call and your game's outbound traffic all compete for the same upload pipe, and that pipe is usually a fraction of your download capacity. Raw bandwidth also isn't the same as usable goodput: overhead, retransmissions and contention from other devices on the network all eat into what you can actually push to an ingest server.
The headroom rule exists for a reason. If you plan to stream at a 6 Mbps bitrate, you want 9 to 12 Mbps of measured upload available, not 6.1 Mbps. That cushion absorbs the normal noise of a home connection: a background update, a neighbor's peak-hour traffic on a shared node, a brief routing hiccup. Without it, your encoder starves and frames drop.

Latency matters in bands rather than a single number. RFC 9317 defines ultra-low latency as under about 1 second end to end, low-latency streaming as under about 10 seconds, and anything slower as non-low-latency, which covers most on-demand and many one-way broadcasts. Interactive formats like cloud gaming or two-way calls need the tighter end of that range.
Jitter and packet loss often cause more visible breakage than a slow average speed test ever shows, because a single-point test can be noisy and miss the transient spikes that actually wreck a broadcast, a point RFC 9317 makes directly. Bufferbloat compounds the problem: when a router queues too much data under load, it inflates the real glass-to-glass latency well beyond what an idle-line test reports.
- Upload headroom: aim for 1.5 to 2 times your ingest bitrate to absorb normal network noise.
- Latency: under roughly 1 second for ultra-low-latency use, under 10 seconds for standard low-latency streaming.
- Packet loss: as close to zero as achievable; sustained loss above a fraction of a percent causes visible artifacts.
- Bufferbloat: a sign your router is queuing too aggressively under load, inflating real-world latency.
A viewing feed in a live stream needs roughly 2.6 Mbps of ideal bandwidth per stream, and platforms will automatically lower resolution or fall back to audio-only when that bandwidth isn't available.
How to run a streaming-focused network test that gives actionable results
A speed test run on your phone while someone else streams a movie tells you almost nothing useful. Testing properly takes a few extra minutes and a little discipline.
- Test from the actual streaming device, not a random laptop, since Wi-Fi signal strength and background processes vary by machine.
- Use wired Ethernet whenever possible; reserve 5 GHz Wi-Fi for situations where running a cable genuinely isn't an option.
- Run tests for 2 to 3 minutes rather than a few seconds, since short tests miss the congestion and noise that only show up over a sustained connection.
- Repeat the test at different times of day, especially during your actual broadcast window, and log the results to spot patterns.
- Simulate encoder load during the test if your tool supports it, so the numbers reflect real streaming conditions, not an idle line.
- Capture upload speed, latency, jitter, packet loss, bufferbloat and the calculated maximum supported resolution in one pass.
- Reboot both your modem and your streaming device before a baseline test, and disable VPNs or background cloud syncs that quietly consume upload bandwidth.
A streaming-specific test like the GrandSpeed Stream Test handles this in one pass: it measures the full metric set at once and saves results to a history so you can compare this week's numbers against last week's, rather than relying on a single snapshot. The upload headroom guidance behind the 1.5 to 2 times rule and the under-25-millisecond latency target comes from the same testing approach.
Pro Tip: Run your baseline test at the exact time of day you plan to broadcast; a connection that looks perfect at 10 a.m. can behave very differently during evening peak hours.
Turning your test results into safe encoder settings
Once you have real numbers, converting them into encoder settings is simple arithmetic: take your measured upload speed, divide by 1.5 to 2, and that's your safe ingest bitrate ceiling.
- Scenario one: 15 Mbps measured upload divided by 1.5 to 2 gives a safe ingest bitrate of 7.5 to 10 Mbps, comfortably inside Twitch's recommended range for 1080p streaming.
- Scenario two: 8 Mbps measured upload divided by the same factor gives 4 to 5.3 Mbps, which fits a 720p stream at a solid frame rate rather than a strained 1080p attempt.
- Scenario three: 40 Mbps measured upload opens up 20 to 26.6 Mbps of safe bitrate, enough headroom for 4K or a high frame rate 1080p broadcast with margin to spare.
Twitch recommends constant bitrate (CBR) encoding for broadcasters specifically because CBR trades a small amount of peak quality for consistency, which matters more than squeezing out a marginally sharper frame. YouTube's ingest side will transcode and adapt for viewers on slower connections, so you only need to provision for your own highest desired quality, not for every viewer's situation.
When your test shows elevated latency, jitter or packet loss rather than a bandwidth shortfall, the fix usually isn't a lower bitrate. It's a lower resolution or frame rate, or switching to transport built for unreliable paths, such as SRT or WebRTC, which handle packet loss more gracefully than older RTMP-only workflows.
Start conservative on your first few broadcasts. If your saved test history over several sessions shows consistent headroom, scale resolution or bitrate up gradually rather than maxing out settings on day one. The bitrate planner does this math automatically from a measured upload figure.
Pre-stream checklist to stabilize your broadcast
A short routine before going live catches most of the problems that cause mid-stream drops.
- Connect your streaming device by Ethernet, and isolate it on a dedicated network or VLAN if your router supports one.
- Disable VPNs and pause cloud backups or large downloads on every device sharing the connection.
- Confirm your platform's required ports and protocols are open, such as RTMPS over port 443 or the UDP ports some low-latency transports need.
- Match your encoder settings to your actual measured capacity, not to what the stream looked like on someone else's connection.
- Monitor ingest health during a short test broadcast with representative content before going fully live.
- Save every test report and schedule recurring checks so a slow degradation shows up before it becomes a mid-show failure.
Pro Tip: Keep a simple log of your pre-stream test results across a month; a pattern of dips at the same hour each day usually points to ISP-level congestion, not your own setup.
Key modem features that actually help with streaming
Away from the raw speed numbers, a handful of modem and router features determine how well that bandwidth gets delivered to your streaming device in practice. Quality of Service (QoS) support lets you prioritize upload traffic from your streaming device over, say, a household member's video call or game download, which matters most on connections without much spare headroom.
Dual-band Wi-Fi matters less than wired Ethernet for the streaming device itself, but it still helps the rest of the household: putting other devices on the 2.4 GHz band while your streaming rig uses 5 GHz or a wired connection reduces contention on the band that actually needs the clean signal. MU-MIMO (multi-user, multiple-input multiple-output) allows a router to serve several devices simultaneously without each one waiting its turn, which reduces the kind of intermittent latency spikes that show up as jitter in a diagnostic test.
None of these features replace testing. A modem with every feature enabled can still sit behind a congested last-mile connection, and a basic modem on a clean line can outperform it. Treat these as supporting factors that reduce variability once your underlying connection already has the headroom your stream needs, and confirm the effect with a before-and-after test rather than assuming the feature worked.
Cable, DSL and fiber: which connection type suits streaming best
The three common last-mile technologies behave differently for the specific thing streaming needs most: consistent upload.
Cable connections typically offer strong download speeds but asymmetric upload, often a small fraction of the download rate, and upload performance can dip during neighborhood peak hours because many households share capacity on the same local node. DSL tends to offer lower overall speeds than cable or fiber, with upload and download usually closer to symmetric at the low end, which can actually work in a streamer's favor if the upload number comfortably clears the headroom rule, even if the total bandwidth looks modest on paper.
Fiber connections most often provide symmetric or near-symmetric upload and download, which removes the asymmetry problem entirely and gives broadcasters the most predictable headroom for a given plan tier. None of this means one technology is automatically right for every reader: a fiber connection with poor in-home wiring or a congested local loop can test worse than a well-maintained cable line. The only way to know is to run the actual metrics, not to assume based on the technology label on your bill.

Compatibility considerations with your ISP and streaming platform
Your modem and connection also need to play nicely with the specific platform you're broadcasting to, and that's a protocol and policy question as much as a speed one. Low-latency live transport often relies on UDP traffic, and Google's own guidance for Meet and live streams recommends allowing outbound UDP on specific port ranges, noting that a forced fallback to TCP can reduce delivered quality.
Some ISPs apply traffic shaping or rate limiting to sustained upload sessions, which shows up in testing as a connection that starts strong and degrades a few minutes in, exactly why a 2 to 3 minute test matters more than a quick snapshot. Double NAT setups, common when an ISP-provided gateway sits in front of a separate router, can also interfere with the ports a streaming platform expects to reach, so confirming your network topology before a broadcast saves troubleshooting time later.
Platform-side, YouTube Live and similar services transcode your ingest stream into multiple output resolutions for viewers, so provisioning your upload for your own target quality, confirmed by a real test, matters more than guessing at what the platform needs. Twitch's guidance on ingest settings exists for the same reason: match your encoder to tested, sustained capacity, not to a number on a plan brochure.
Security features that protect a streaming setup
A streaming device sitting on an exposed network is a bigger risk than most broadcasters consider, since a live broadcast often runs for hours with ports open and a predictable schedule. A modem or router with a built-in firewall is the baseline protection, filtering unsolicited inbound traffic before it ever reaches your encoder or capture device.
Regular firmware updates matter just as much as the firewall itself. Manufacturers patch vulnerabilities on an ongoing basis, and a modem running outdated firmware can have known weaknesses that a current version has already closed. Isolating your streaming device on its own network segment, whether through a VLAN or a simple guest network used only for broadcasting, limits the blast radius if any other device on the network is compromised.
Changing default administrative credentials on your modem and router is a basic step that's easy to skip and easy to exploit when skipped. None of these measures affect your measured upload speed or latency directly, but a compromised device rerouting or throttling traffic in the background can absolutely show up as unexplained jitter or packet loss in your diagnostics, which is one more reason to treat security hygiene as part of your overall streaming reliability routine.
Recommended approaches for reliable streaming performance
Rather than chasing a specific modem model, the more reliable approach is matching your connection type and router features to the headroom and stability your stream actually needs, then confirming it with a test. A connection that delivers consistent upload with low jitter and near-zero packet loss outperforms a higher-rated plan that looks good on paper but tests poorly during your actual broadcast window.
Look for a modem and router combination that explicitly supports QoS prioritization and, where your household needs it, MU-MIMO for handling multiple connected devices without added latency. Pair that with a wired Ethernet connection to your streaming device whenever physically possible, since Wi-Fi introduces variability that a test will show up as jitter even on an otherwise strong connection. The Ethernet versus Wi-Fi comparison covers this tradeoff in more detail for readers weighing whether a cable run is worth the effort.
For readers running production-grade setups with dedicated encoding hardware, a partner like i4studio's video streaming services covers studio equipment and custom encoding workstation builds for those who need hardware beyond a standard consumer router and modem. Whatever your setup, the verdict on "reliable" comes from your own test history over time, not a brand name on the box.
Integrating network diagnostics into your production workflow
A single test before a big broadcast is better than nothing, but the real value comes from building diagnostics into a routine. I run a quick check as a fixed line item on every pre-show checklist, not an optional extra, and I compare it against saved history rather than judging it in isolation.
A single bad reading is noise. A pattern of transient spikes at the same time each day, especially if they show up across multiple sessions in your saved history, is a signal worth documenting with timestamps before you contact your ISP, since specific, repeated evidence gets resolved faster than a vague complaint. If your tests consistently show headroom near the edge of what your stream needs even after ruling out in-home issues, that's the point to weigh a plan upgrade or a bonded connection against simply dialing back your encoder settings. For most home broadcasters, conservative settings paired with regular testing solve the problem well before a dedicated upstream solution becomes necessary.
— Peter D
GrandSpeed: run the Stream Test for a streaming-specific diagnosis
We built GrandSpeed around the exact workflow this article describes: a multi-metric test that runs in any modern browser, on any device, and measures upload speed, latency, jitter, packet loss, bufferbloat and DNS resolution in one pass. The Video Streaming Quality Test goes a step further and calculates your maximum supported broadcast resolution directly from your measured numbers, so you're not guessing at encoder settings.
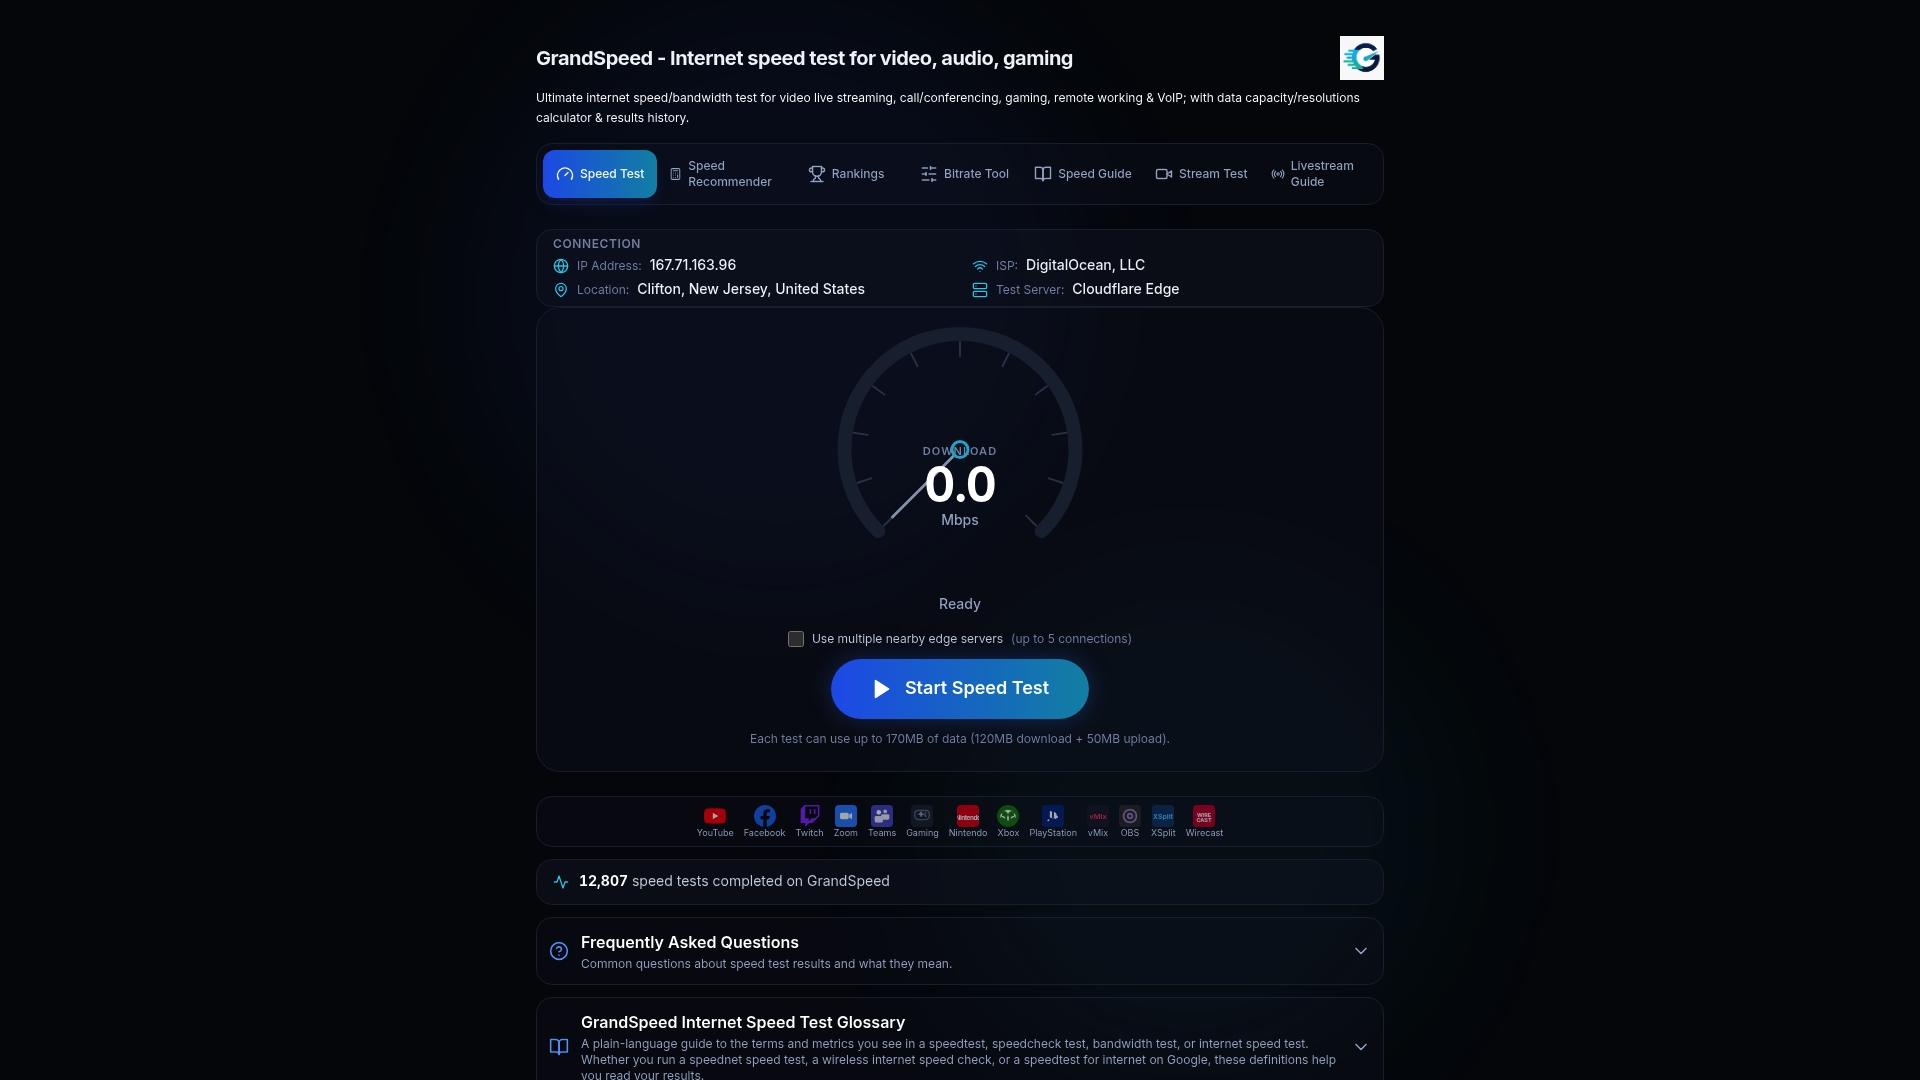
We also save every result to a test history, so you can track whether your connection is actually improving or just looking fine on a lucky day, and our bitrate planner converts a measured upload figure straight into a recommended ingest setting. Run the Livestream Upload Speed Monitor before your next broadcast to get a saved, streaming-specific report in a couple of minutes.
FAQ
What upload speed do I need for streaming?
There's no single number, since the right upload speed depends on your target resolution and bitrate, but the reliable method is to take your planned ingest bitrate and multiply it by 1.5 to 2 for headroom. A streaming-focused test shows your actual measured upload alongside a calculated maximum resolution so you can match settings to real capacity.
What is a good latency for live streaming?
For most standard live streaming, latency under roughly 10 seconds end to end falls into the "low-latency" category defined by RFC 9317, while interactive formats like cloud gaming need latency closer to 1 second. Lower is generally better, and sudden spikes matter more than a slightly elevated but stable average.
Why does my stream drop frames even though my speed test looks fine?
A quick speed test often misses jitter, packet loss and bufferbloat, which can degrade a stream even when average bandwidth looks sufficient. Running a longer, 2 to 3 minute test that measures these metrics together, rather than bandwidth alone, usually reveals the real cause.
Should I use CBR or VBR for streaming?
Most streaming platforms, including Twitch, recommend constant bitrate (CBR) encoding for broadcasters because it prioritizes stability over squeezing out marginal quality gains. VBR can look sharper on paper but risks inconsistent output that a receiving server has to work harder to handle.
How often should I test my connection before streaming?
Testing once before your very first broadcast isn't enough, since network conditions change by time of day and over weeks. Running a test before each session and saving the results to a history lets you spot a slow decline before it causes a failure during an actual broadcast.
Sources
- Prepare your network for Meet meetings & live streams | Google Workspace Help
- RFC 9317 - Operational Considerations for Streaming Media
- Broadcasting guidelines | Twitch Help